Nuxt v3 簡易使用教學Nuxt v3 讓網頁支援 markdownNuxt v3 + content v2 = 最簡單 markdown 網站Nuxt v3 + content v3 = 很難搞的 markdown 網站Nuxt v3 + Tailwindcss v3Nuxt v3 + Primevue v4客製化 Prose 等 UI 元件安裝 @nuxtjs/i18n v8客戶端 Nuxt 3 擷取 REST APIs 數據設計主機端 Flask REST APIs 設計Flask 限制 API 使用次數Flask JWT 登入登出 API
PublishedDate: 13 March 2025
Nuxt v3 簡易使用教學
Nuxt 幾乎不用設定,開箱立即可以使用,會自動匯入所有的UI元件與功能元件,又內建router,
安裝
- 開啟一個新專案, 專案名稱
z5525-nuxt3
npx
npx nuxi init z5525-nuxt3
- 目錄結構
cd z5525-nuxt3
tree -L 2
新專案的目錄結構
├── README.md
├── app.vue
├── node_modules
├── nuxt.config.ts
├── package.json
├── public
│   ├── favicon.ico
│   └── robots.txt
├── server
│   └── tsconfig.json
├── tsconfig.json
└── yarn.lock
在專案中所有的檔案都會自動匯入,常用的目錄還有 等目錄
components   // 全區域UI元件
composables  // 全區域通用功能元件, 如 useApi
layout       // 自訂網站的佈局, 內定名稱為 default.vue
pages        // 網站的頁面, index.vue => localhost/, about.vue => localhost/about
plugins      // nuxt 客製化的加強元件
- 安裝必要檔案與執行
yarn     # 安裝所有程式庫
yarn dev # 啟動開發模式
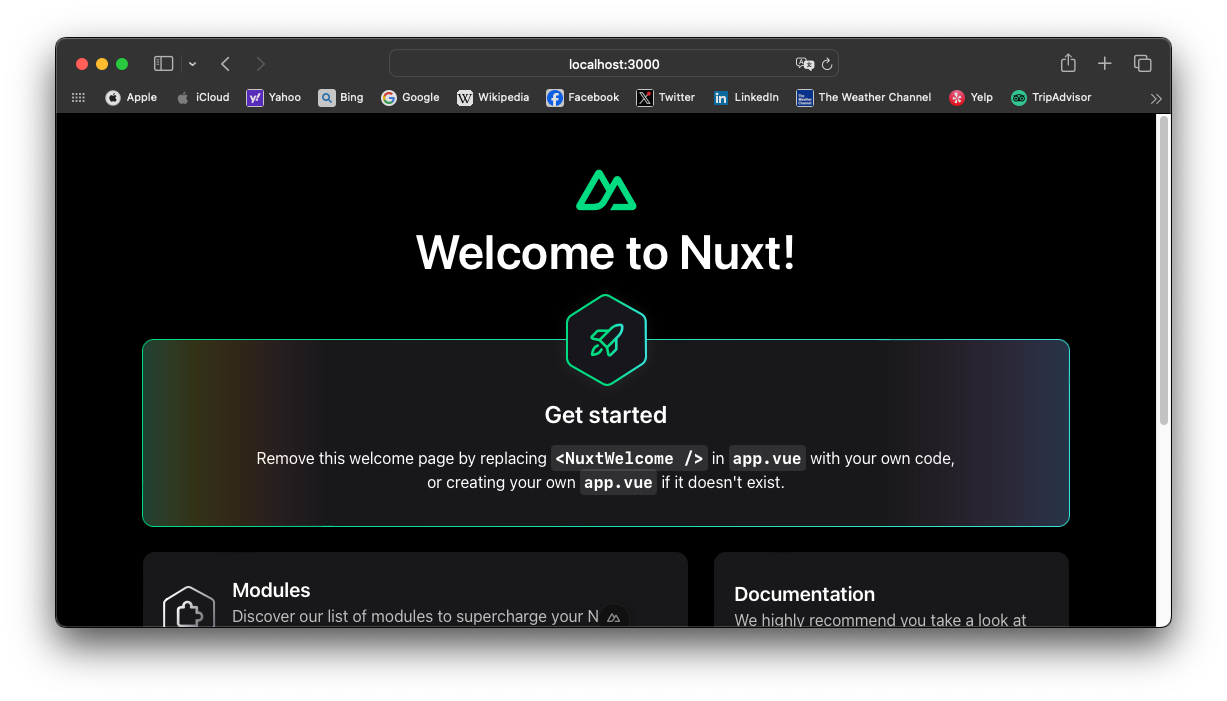
執行結果
yarn run v1.22.22
$ nuxt dev
Nuxt 3.15.4 with Nitro 2.11.2                                 nuxi  3:44:19 PM
  ➜ Local:    http://localhost:3000/
  ➜ Network:  use --host to expose

  ➜ DevTools: press Shift + Option + D in the browser (v1.7.0)      3:44:21 PM

✔ Vite client built in 57ms                                        3:44:23 PM
✔ Vite server built in 1047ms                                      3:44:24 PM
✔ Nuxt Nitro server built in 1426 ms                         nitro 3:44:25 PM
ℹ Vite client warmed up in 5ms                                     3:44:25 PM
ℹ Vite server warmed up in 1515ms                                  3:44:27 PM
畫面
修改首頁
- 將
app.vue改成如下
<!-- app.vue -->
<template>
  <NuxtLayout>
    <NuxtPage />
  </NuxtLayout>
</template>
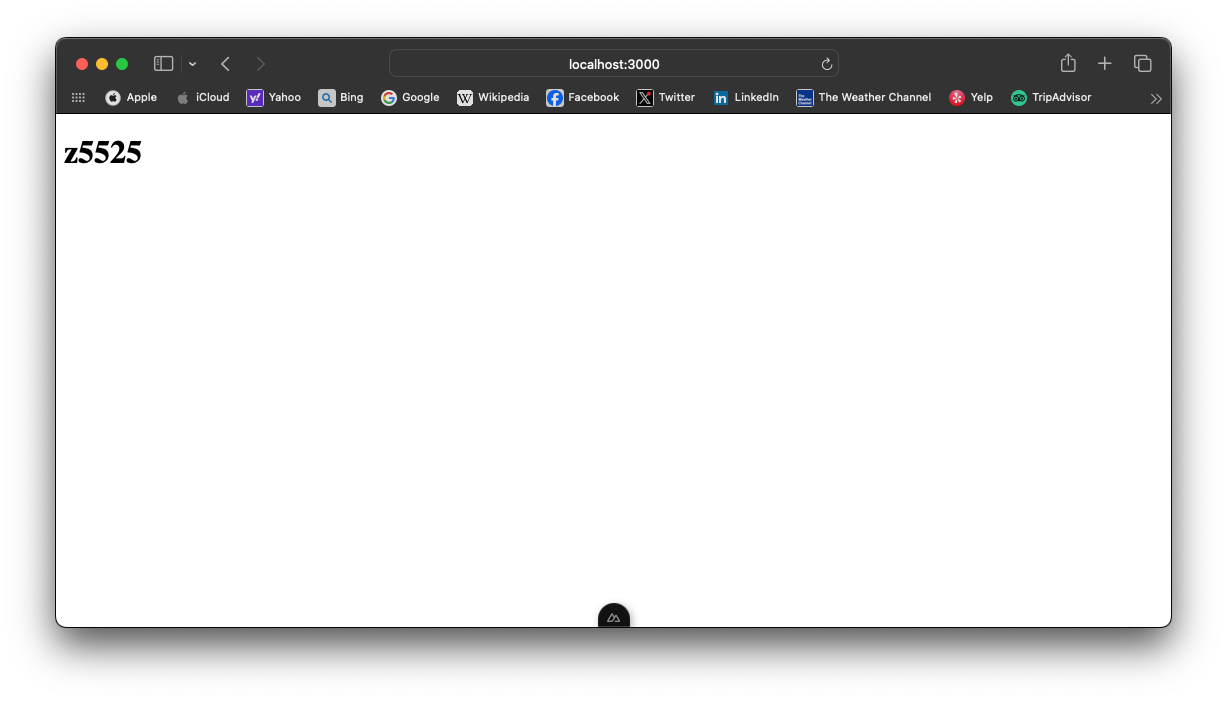
- 加入首頁
<!-- pages/index.vue -->
<template>
  <div>
    <h1>z5525</h1>
  </div>
</template>
- 重新啟動
在執行中會監控變更的檔案,重新編譯檔案後就會顯示新內容,沒有變更用 Ctrl + C 取消程式,並且在一次執行一次指令
yarn dev
- 變更後的檔案目錄結構
├── README.md
├── app.vue
├── node_modules
├── nuxt.config.ts
├── package.json
├── pages
│   └── index.vue
├── public
│   ├── favicon.ico
│   └── robots.txt
├── server
│   └── tsconfig.json
├── tsconfig.json
└── yarn.lock
將目錄結構改成第四版
- 在
nuxt.config.ts加入以下內容
nuxt.config.ts
// nuxt.config.ts
future: {
  compatibilityVersion: 4,
},
- 完整內容如下
nuxt.config.ts
// nuxt.config.ts
export default defineNuxtConfig({
  compatibilityDate: '2024-11-01',
  devtools: { enabled: true },
  future: {
    compatibilityVersion: 4,
  },
})
- 第四版的目錄結構
最新版的目錄結構,會保留 server (主機端的程式碼), public (靜態檔案),將客戶端的程式碼集中在 app 目錄下
├── app
│   ├── index.vue
│   └── pages
│       └── index.vue
├── nuxt.config.ts
├── package.json
├── public
│   ├── favicon.ico
│   └── robots.txt
├── server
│   └── tsconfig.json
└── tsconfig.json
修改後結果
參考資料 Reference
版本備註
nuxt v3.15.4