PublishedDate: 18 March 2025
Nuxt v3 + content v2 = 最簡單 markdown 網站
第二版是最簡單幾乎開箱就可以使用,。這篇第三版,或是看這篇第二第三版不一樣的地方。
安裝與設定
- 安裝
npx nuxi module add @nuxt/[email protected]
- 設定
@nuxtjs/content 加入 modules
// nuxt.config.ts
modules: ['@nuxt/content'],
完整設定檔如下
// nuxt.config.ts
export default defineNuxtConfig({
  // 其他設定
  future: { compatibilityVersion: 4 },
  modules: ['@nuxt/content'],
  // 其他設定
})
- 加入 markdown 檔案
在專案目錄下加入 content ,裡面加入一個 markdown-demo.md
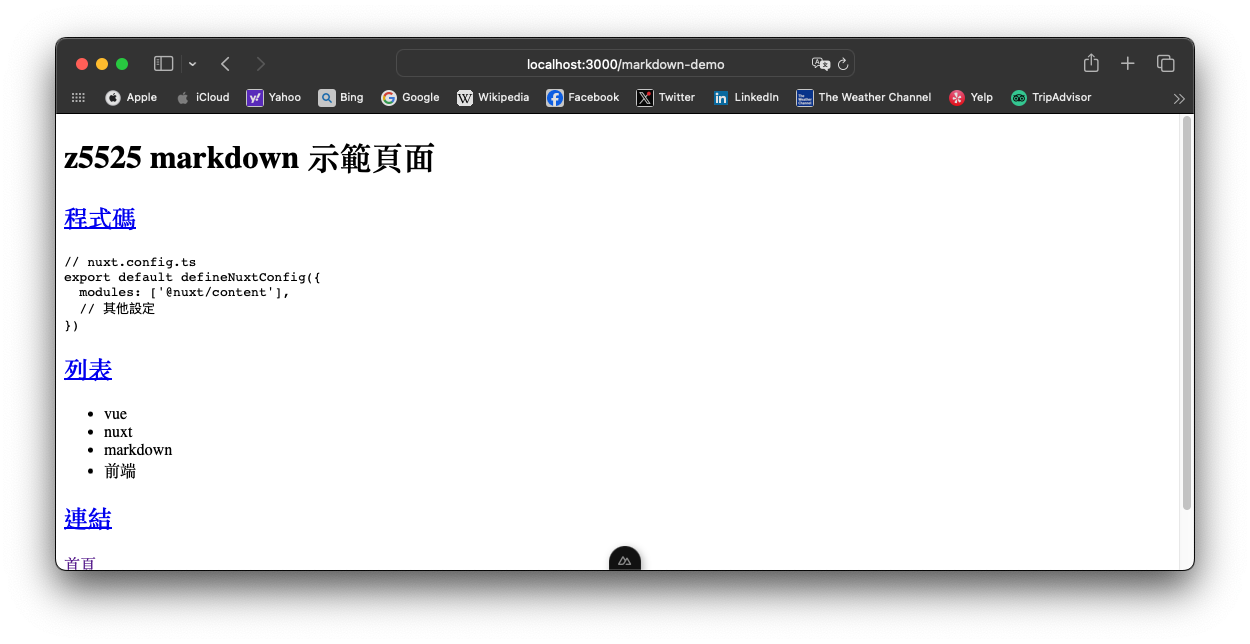
<!-- content/markdown-demo.md -->
# z5525 markdown 示範頁面

## 程式碼

```ts [nuxt.config.ts]
// nuxt.config.ts
export default defineNuxtConfig({
  modules: ['@nuxt/content'],
  // 其他設定
})
```

## 列表
* vue
* nuxt
* markdown
* 前端

## 連結

[首頁](/)
[連結到blog](/blog)
[連結到blog/hello](/blog/hello)
- 加入 markdown UI頁面
在 pages 目錄新增 [id].vue 檔案,表示 http://localhost:3000/myfile 在 id.vue 檔案裡,id 就是 myfile.md
<!-- app/pages/[id].vue -->
<script setup>
const { path } = useRoute();
console.log("[id].vue")
console.log(path)                 // path => /markdown-demo
console.log(useRoute().params.id) // id => markdown-demo
const { data: article, error } = await useAsyncData(path, () =>
  queryContent(path).findOne(),
)
</script>

<template>
  <!-- Render the blog post as Prose & Vue components -->
  <ContentRenderer :value="article" />
</template>
- 瀏覽器檢查顯示結果
http://localhost:3000/markdown-demo
試試看其他檔案
在 content 加入 blog 目錄, blog 目錄加入 hello.md
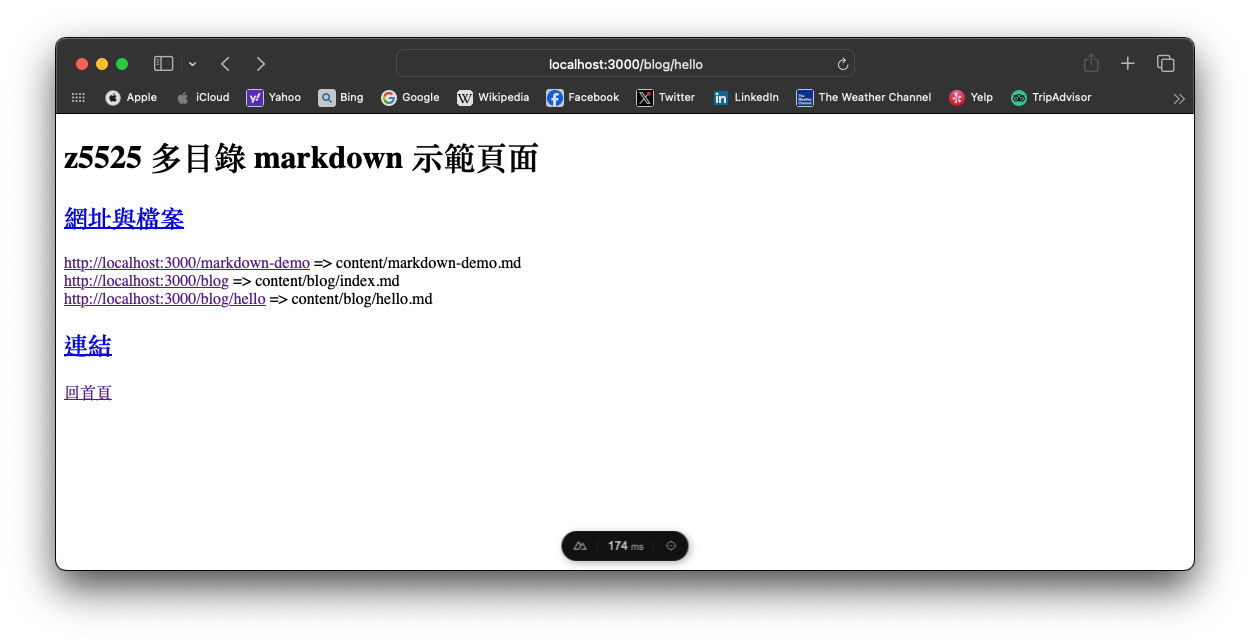
<!-- content/blog/hello.md -->
# z5525 多目錄 markdown 示範頁面

## 網址與檔案

http://localhost:3000/markdown-demo => content/markdown-demo.md
http://localhost:3000/blog          => content/blog/index.md
http://localhost:3000/blog/hello    => content/blog/hello.md

## 連結

[回首頁](/)
http://localhost:3000/blog/hello 這時候無法顯示這個頁面,因為 [id].vue ,處理這個頁面是 app/pages/blog/hello.vue 或是 app/pages/blog/[id].vue

content 目錄結構與網址對應
content
  markdown-demo.md   // http://localhost:3000/markdown-demo
  about.md           // http://localhost:3000/about
  blog  - index.md   // http://localhost:3000/blog
        - hello.md   // http://localhost:3000/blog/hello
  price - index.md   // http://localhost:3000/price
多目錄架構
再加入一個檔案 [...slug].vue,用來,這樣任何目錄下的有支援的檔案可以變成一個網頁顯示。
<!-- app/pages/[...slug].vue -->
<script setup>
console.log("[...slug].vue")
const { path } = useRoute();
console.log(path) // /blog/hello
console.log(useRoute().params.slug) // ["blog", "hello"]
const { data: article, error } = await useAsyncData(path, () =>
  queryContent(path).findOne(),
)

</script>

<template>
  <!-- Render the blog post as Prose & Vue components -->
  <ContentRenderer :value="article" />
</template>
輸入 http://localhost:3000/blog/hello 可以看到正常顯示 blog/hello.md 內容
當連結到 http://localhost:3000/markdown-demo 由 [id].vue 處理http://localhost:3000/blog/hello 改由 [...slug].vue 處理
產生靜態網站
yarn generate 產生網站,網站內容可以放在 aws s3, cloudflare pages, github pages, Surge.sh
- Surge.sh: 免費/付費,最簡單,只需要一個指令。
- cloudflare pages: 免費/付費,簡單,全功能自訂domain,支援https。
- github pages: 免費,需要用 git 指令。
- aws s3: 付費,最複雜。
參考資料 Reference
Nuxt
NuxtContent
Surge.sh
CloudFlare
GitHub
AWS
Netlify
版本備註
nuxt v3.15.4
@nuxt/content v2.13.4