PublishedDate: 18 March 2025
Nuxt v3 + content v3 = 很難搞的 markdown 網站
第三版測試很久才知道問題在哪裡,在第二版已經提到的內容不會再重複,要使用簡單又用方便上手看第二版nuxt v3 + content v2,或是看看第二第三版不一樣的地方。
安裝與設定
- 安裝
npx nuxi module add @nuxt/[email protected]
or
yarn add @nuxt/[email protected]
- 設定
@nuxtjs/content 加入 modules
// nuxt.config.ts
modules: ['@nuxt/content'],
完整設定檔如下
// nuxt.config.ts
export default defineNuxtConfig({
  // 其他設定
  future: { compatibilityVersion: 4 },
  modules: ['@nuxt/content'],
  content: {
    build: {
      markdown: {
        mdc: true,
        highlight: {
          // Theme used in all color schemes.
          theme: 'github-dark',
        }
      }
    }
  }
  // 其他設定
})
content.config.ts設定
這一步是最重要的,設定的結果關係到之後 query 查詢資料的結果。
source範例:
source:
blog/*.md=> content 目錄之下 blog 底下所有的 .md 檔案
source:posts/**=> content 目錄之下 posts 底下含子目錄的所有支援的檔案
source:**=> content 目錄之下含子目錄所有支援的檔案
以下範例設定中 docs 就是之後要用的,當使用 queryContent("docs") 當中的 需要改成你的命名。
// content.config.ts
import { defineCollection, defineContentConfig, z } from '@nuxt/content'

export default defineContentConfig({
  collections: {
    docs: defineCollection({
      // Load every file inside the `content` directory
      source: '**',
      // Specify the type of content in this collection
      type: 'page',
      schema: z.object({
        published: z.boolean().default(false) // 這一行有加入才會有 published 欄位
      })
    }),
  },
})
測試
- 加入 markdown 檔案
在專案目錄下加入 content ,裡面加入一個 markdown-demo.md
---
published: true
---
<!-- content/markdown-demo.md -->
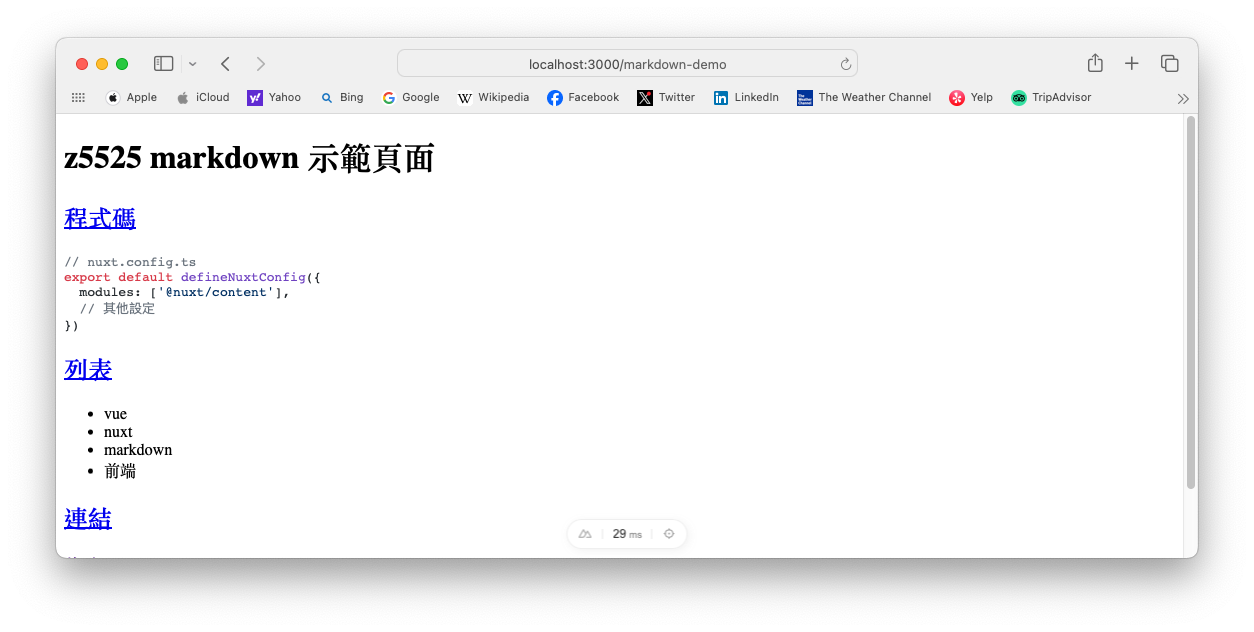
# z5525 markdown 示範頁面
## 程式碼
```ts [nuxt.config.ts]
// nuxt.config.ts
export default defineNuxtConfig({
modules: ['@nuxt/content'],
// 其他設定
})
```
## 列表
* vue
* nuxt
* markdown
* 前端
## 連結
[首頁](/)
[連結到blog](/blog)
[連結到blog/hello](/blog/hello)
- 加入 markdown UI頁面
在 pages 目錄新增 [...slug].vue 檔案,表示 http://localhost:3000/myfile 在 ...slug.vue 檔案裡執行與控制,slug 得到就是值是 ["myfile"]
注意: v2 可以使用
[id].vue和[...slug].vue分別處理不同目錄的檔案,但是在 v3 不可以使用兩個檔案主目錄與子目錄統一用[...slug].vue控制。
<!-- app/pages/[...slug].vue -->
<script setup>
console.log("[...slug].vue")
const route = useRoute();
console.log(route.path)        // path => /blog/hello
console.log(route.params.slug) // slug => ["blog", "hello"]
const { data: article } = await useAsyncData(route.path, () => {
  return queryCollection('docs').path(route.path).first()
})

</script>

<template>
  <!-- Render the blog post as Prose & Vue components -->
  <ContentRenderer v-if="article" :value="article" />
</template>
- 最後一步用瀏覽器檢查結果
http://localhost:3000/markdown-demo
寫一個 blog 網站
示範中的 css 是使用 tailwindcss 下一篇會介紹
<!-- app/pages/index.vue -->
<template>
  <div class="w-full">
    <div class="w-full py-4 px-4">
      <h1 class="text-xl font-bold text-center">Blog</h1>
    </div>
    <div class="max-w-7xl mx-auto p-10 grid grid-cols-3 gap-10">
      <div v-for="item in docs">
        <h2 class="text-2xl font-bold">{{ item.title }}</h2>
        <NuxtLink :to="item.path">
          <span>Read More</span>
        </NuxtLink>
      </div>
    </div>
  </div>
</template>
<script setup lang="ts">
const pageNo = ref(0)
const pageSize = 10;
const { data: docs } = await useAsyncData('posts', () => {
  return queryCollection('docs')
  .where('published', '=', true)
  .limit(pageSize)
  .order('id', 'ASC') // ASC|DESC 一定要大寫
  .all()
});
console.log(docs.value)
</script>
限制
使用到 published 欄位過濾沒有要發布的檔案,所以記得要在文章中加入這個欄位才會出現。
---
published: true
---
最後測試看看結果如何
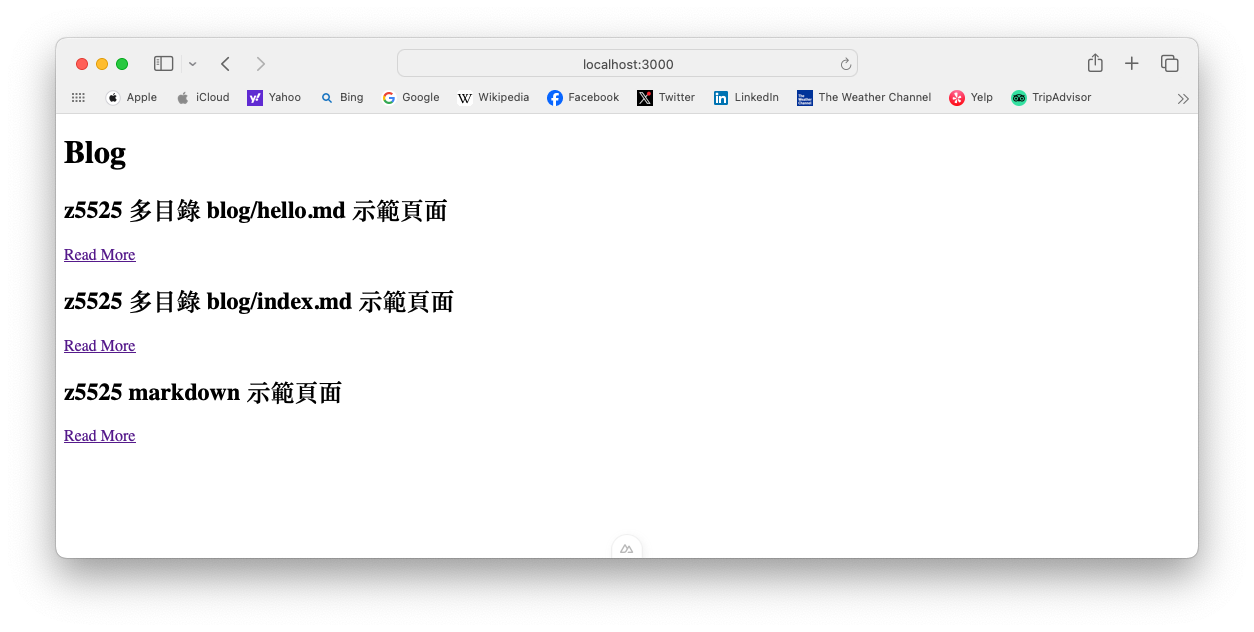
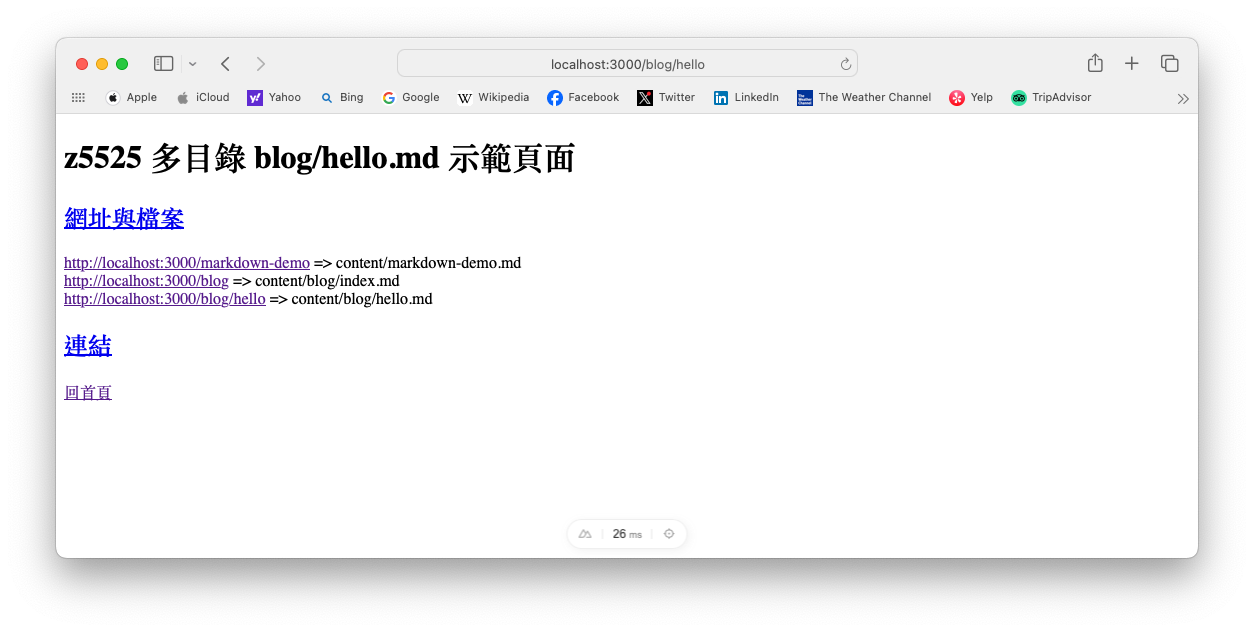
測試多目錄架構
在 content 目錄多加幾個目錄與檔案, 測試看看每個檔案顯示在首頁,並且每個連接都是正常的。
當連結到 http://localhost:3000/markdown-demo 由 [...slug].vue 處理http://localhost:3000/blog/hello 還是由 [...slug].vue 處理
參考資料 Reference
版本備註
nuxt v3.15.4
@nuxt/content v3.3.0